Interfacing the IoT: Automated Lighting with ESP8266 and Kotlin's Jetpack Compose & Ktor
In an era of intelligent devices, ordinary objects are becoming smart entities. You can transform a light bulb into a smart bulb controlled through a custom Android application. This guide walks through that process using the ESP8266 WiFi module and an Android app built with Kotlin, Jetpack Compose, and Ktor, as of June 2023.
Assembling the ESP8266 WiFi Module#
The ESP8266 provides the means for microcontrollers to integrate with a WiFi network, enabling straightforward TCP/IP connections. This makes it an optimal choice for IoT projects. To automate your light bulb, you need these components.
- ESP8266 WiFi Module
- LED Bulb
- Relay Module
- Breadboard and Jumper Wires
- Power Supply
Establish a connection between the VCC and GND pins of the ESP8266 and the power supply. Then connect the GPIO2 pin to the relay module input pin. The relay module acts as an electronic switch, toggling the light bulb state depending on the ESP8266 signal.
Coding the ESP8266#
The Arduino IDE simplifies composing and uploading code to the ESP8266. First, fetch and install the latest version of the Arduino IDE. Include the ESP8266 board package in the Arduino IDE configurations. Find and add the ESP8266 board package from the Boards Manager.
The ESP8266 Web Server#
This script initiates a web server that awaits incoming connections and responds based on received requests.
#include <ESP8266WiFi.h>
#include <ESP8266WebServer.h>

const char* ssid = "YourNetworkName";
const char* password = "YourNetworkPassword";
ESP8266WebServer server(80);

void setup(){
  WiFi.mode(WIFI_AP);
  WiFi.softAP(ssid, password);
  server.on("/", HTTP_GET, [](AsyncWebServerRequest *request){
    int state = request->getParam(0)->value().toInt();
    digitalWrite(2, state);
    request->send(200, "text/plain", "Bulb state manipulated");
  });
  server.begin();
}

void loop(){
  server.handleClient();
}
The code sets up your ESP8266 as an access point and launches an HTTP server listening on port 80. When a request arrives with a state parameter, it manipulates GPIO2 to control the relay module.
Android Application with Kotlin, Jetpack Compose, and Ktor#
Jetpack Compose is a modern toolkit for crafting native Android UI. Kotlin is a statically typed programming language. Ktor is a Kotlin framework for building asynchronous servers and clients. Together they provide everything needed for the mobile application side.
Preparing Android Studio#
- Install the latest version of Android Studio.
- Start a fresh project with an empty activity template.
- Select Kotlin as the language and designate the minimum API level as per your requirement.
Designing the User Interface with Jetpack Compose#
Craft two buttons for controlling the light within the primary activity file.
@Composable
fun LightControlScreen() {
  Column {
    Button(onClick = { sendCommand("on") }) {
      Text("Illuminate")
    }
    Button(onClick = { sendCommand("off") }) {
      Text("Dim")
    }
  }
}
Configuring Ktor and Dispatching HTTP Requests#
Incorporate Ktor dependencies in your build.gradle file.
dependencies {
  implementation 'io.ktor:ktor-client-core:1.6.1'
  implementation 'io.ktor:ktor-client-android:1.6.1'
}
Afterward, author the function that dispatches HTTP requests to the ESP8266 module. Make sure to replace the placeholder with the actual IP address of your ESP8266.
val client = HttpClient(Android)

suspend fun sendCommand(state: String) {
  val url = "http://<ESP8266 IP address>/?state=$state"
  val response: String = client.get(url)
}
Invoking the sendCommand Function#
Invoke the sendCommand function from a Coroutine scope as follows.
Button(onClick = { CoroutineScope(Dispatchers.IO).launch { sendCommand("on") } }) {
  Text("Illuminate")
}

Button(onClick = { CoroutineScope(Dispatchers.IO).launch { sendCommand("off") } }) {
  Text("Dim")
}Permissions#
Don't forget to grant the internet permission in your AndroidManifest.xml. Add this permission declaration so your app can communicate with the ESP8266 over the network.
Wrapping Up#
Building an automated light control system employing the ESP8266 WiFi module and an Android app developed with Kotlin, Jetpack Compose, and Ktor demonstrates how IoT ventures can bring intelligence to everyday objects. These projects contribute to the growing smart home trend and inspire developers to explore and create their own intelligent devices.
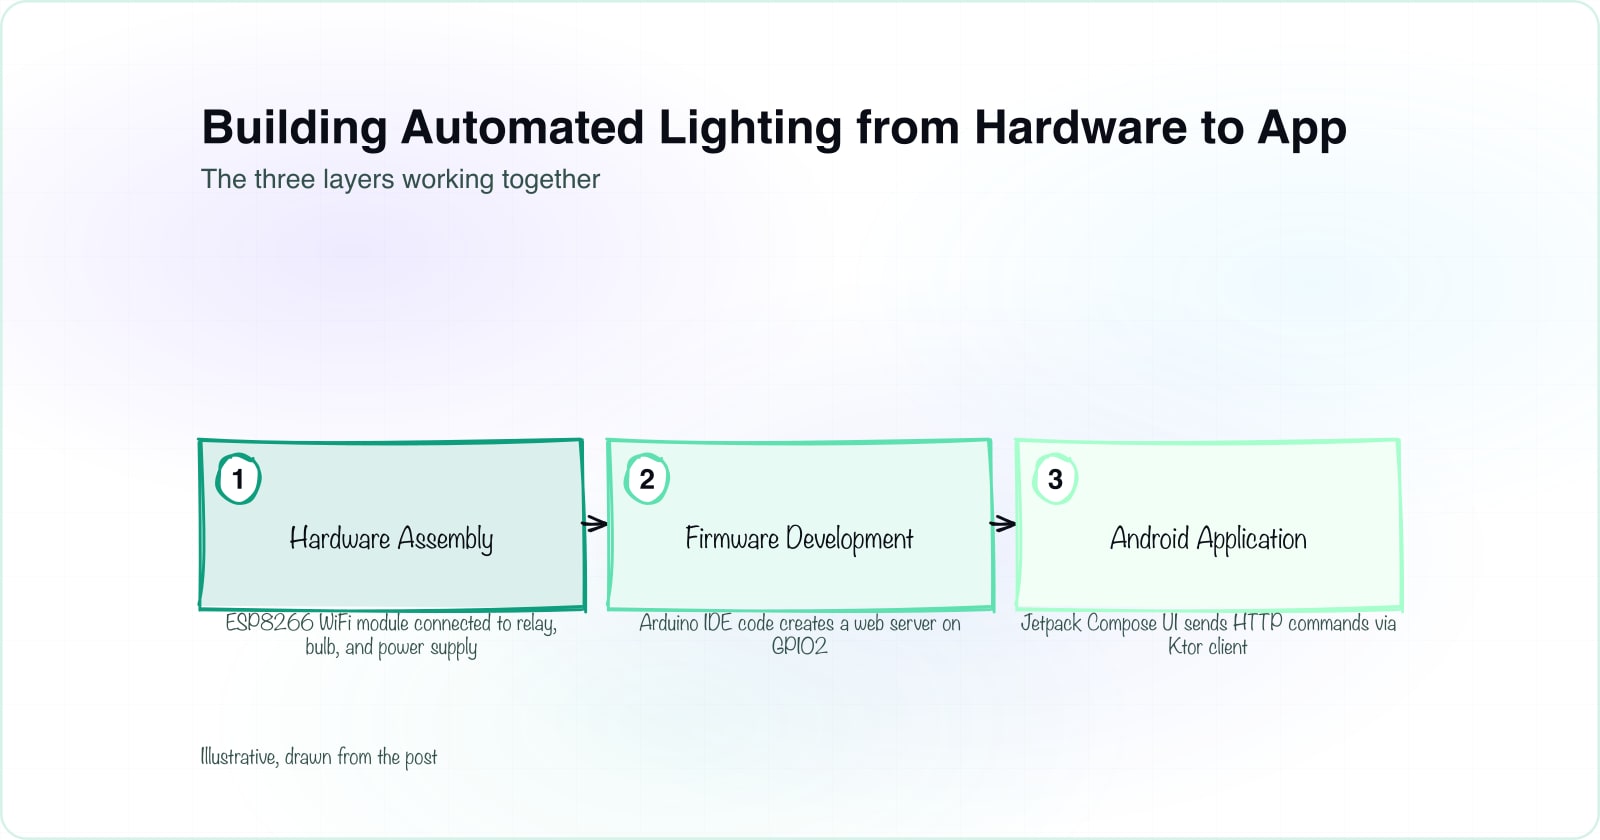
The three layers of this system work together. Your hardware handles power and switching. Your firmware manages network communication and state. Your mobile application provides the interface. Together they deliver a practical IoT solution that you can extend with additional features, more devices, and more sophisticated logic as you grow comfortable with the pattern.
When you are building mobile applications like this one, understanding mobile app development best practices helps you ship a polished product. Similarly, designing reliable API integrations between your client and server ensures your IoT system stays responsive and maintainable as you add more features.